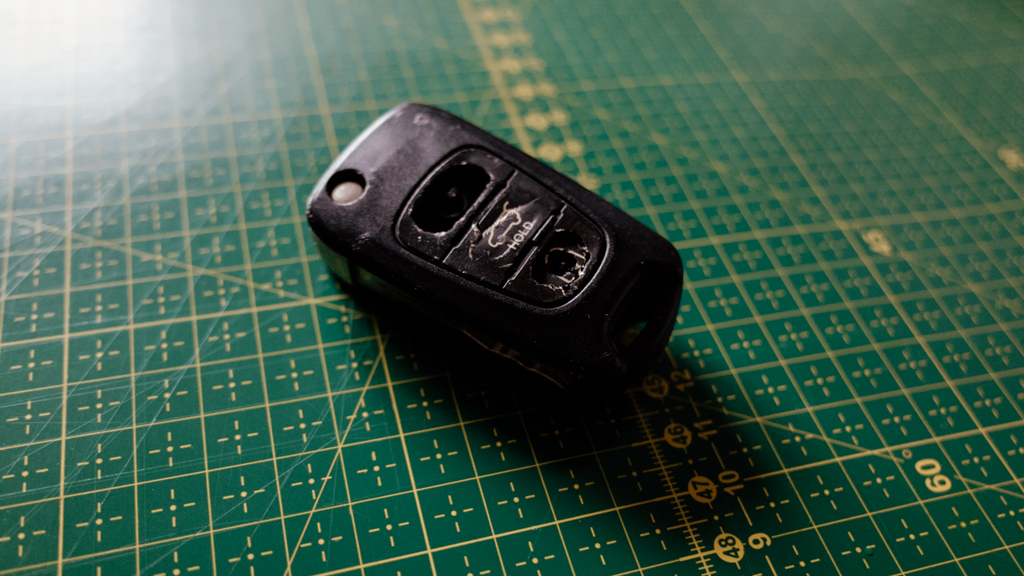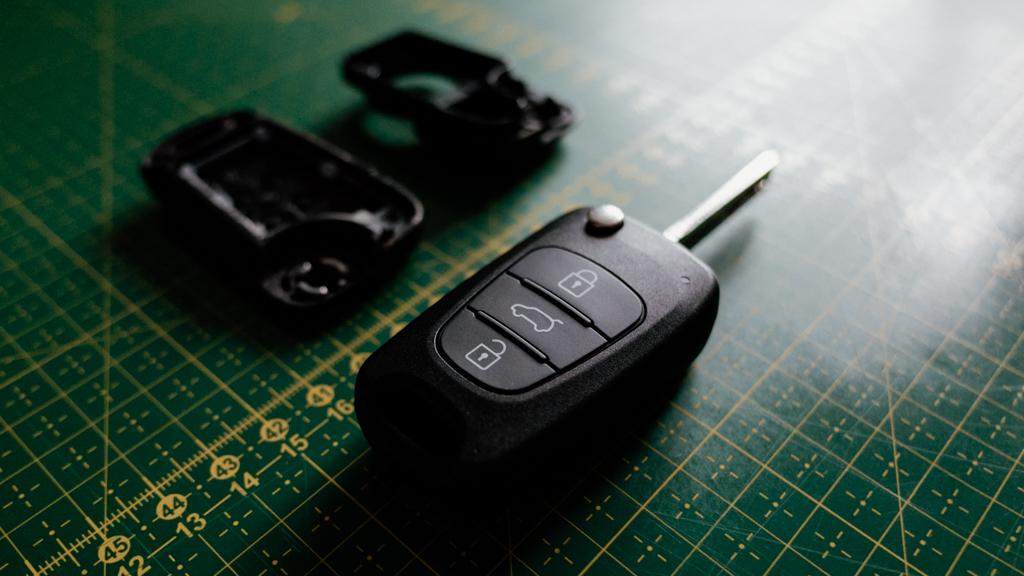
Worn car keys can be a problem even for people who care a lot about their car. If you have such a broken key, don’t worry - replacing the case can be an easy and inexpensive task. While professional replacement or fixing of broken key cases can vary in cost depending on the region and car brand, you can save some money by doing it yourself at home. Even if you’re using a modern electronic key with a transponder system that connects to an immobilizer, you can still do the fix on your own and I will show you how to do that 😀
Tools
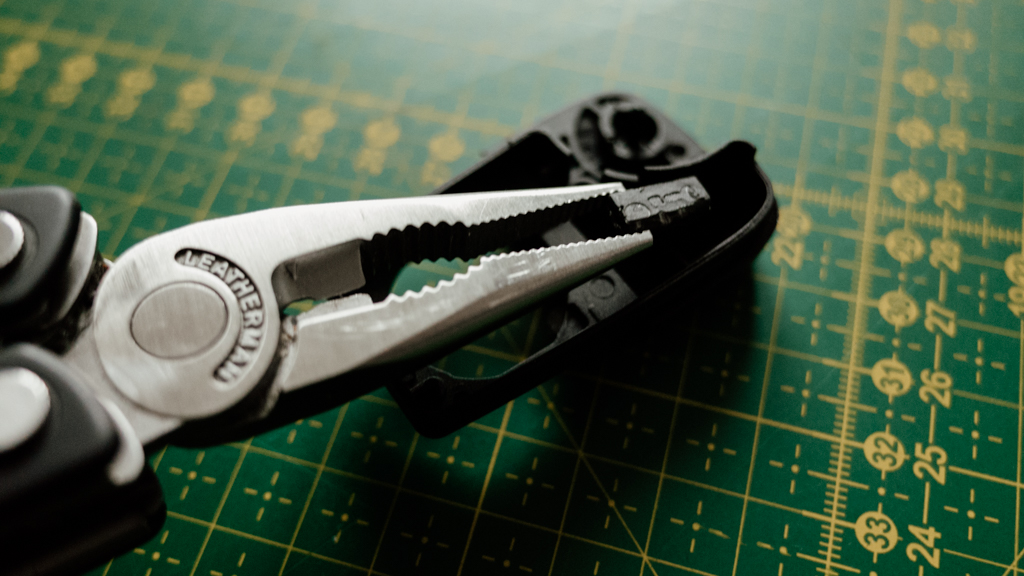
To complete this repair, I’m using a Leatherman Charge, but for most of the steps, you can use virtually any set tools you can find at home. If you want to prepare beforehand, you can follow the list below to arrange useful tools.
- Eyeglass flat and Phillips screwdrivers
- Small and medium flat scredrivers
- Small pliers or tweezers
- Soldering iron
Of course, you’ll also need a new case for your key. You can check your local car shop, but they’re also easily available on online shops like AliExpress. Just type the brand and model of your car + “key replacement” or “key case”. Since key cases come in different shapes and sizes, make sure you’re searching for one that’s designed for your specific car key and will fit the electronic board.
In this tutorial, I will replace the case for Kia Ceed, but for most regular cars the steps will be pretty same.
Disassembly of the old key
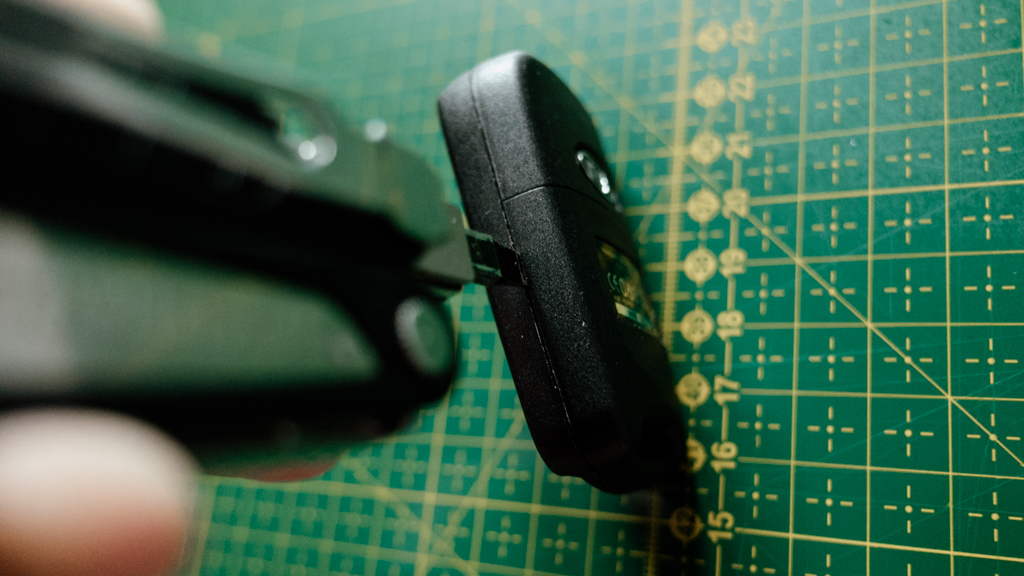
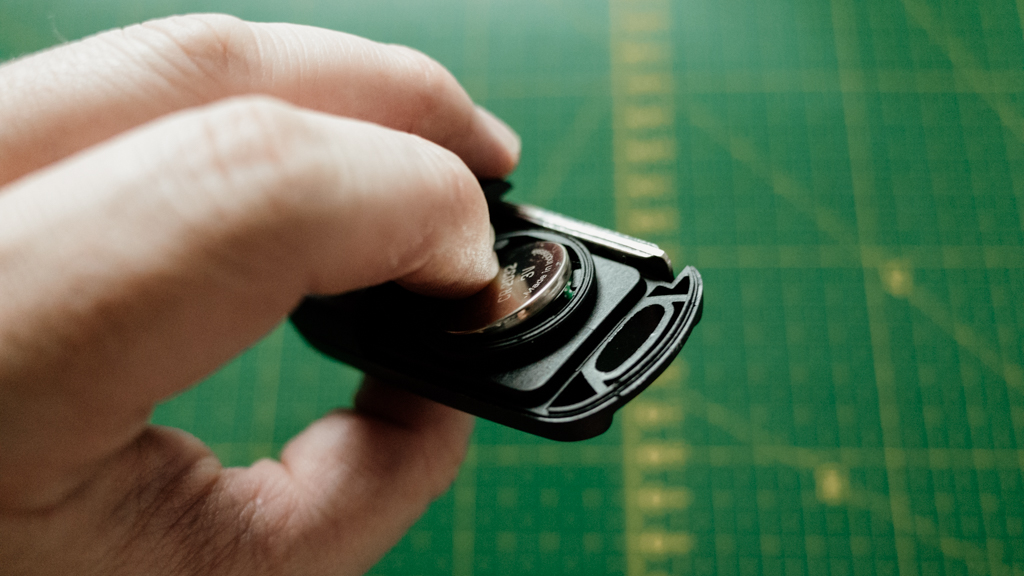
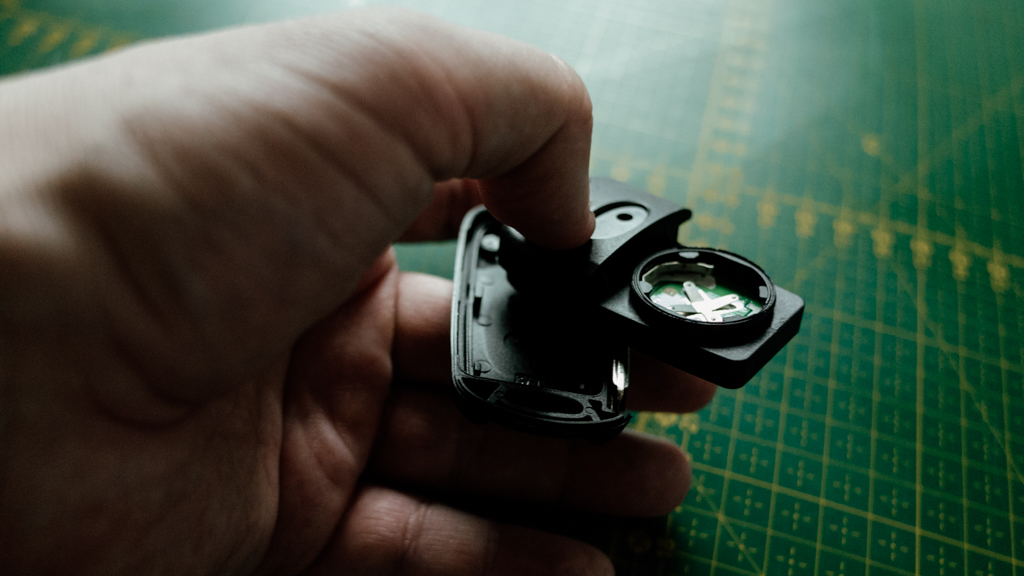
First, we need to open the case. Some of them are quite tight-fitted so a small-to-medium flat screwdriver can be handy. Let’s start with the battery cover which is at the back.
You can remove the battery by sliding it slightly.
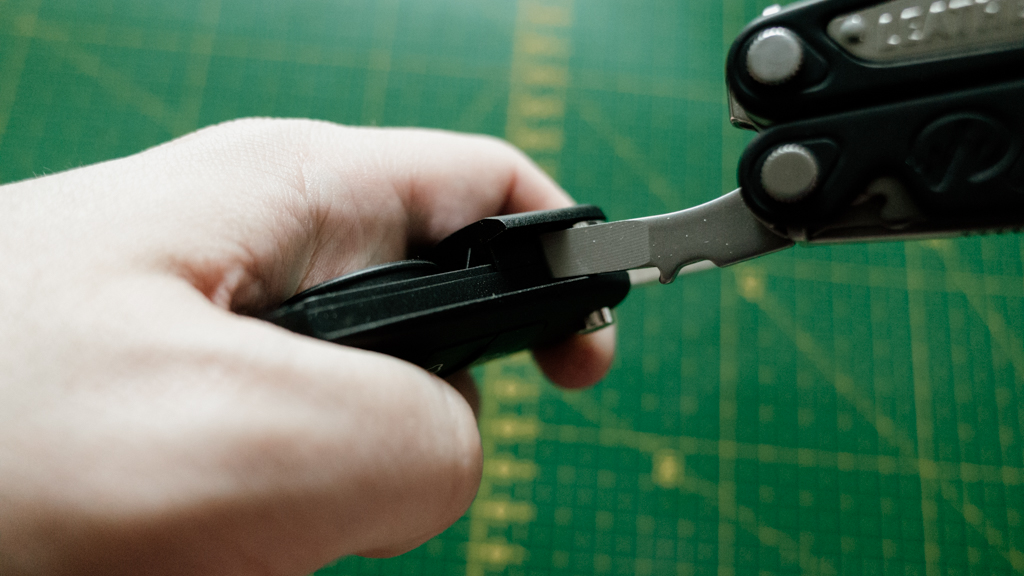
To open a case fully we will need to use even more force and a little bit larger screwdriver (or two) to pry two halves of plastic cover. You will have to use excessive force to separate the case, but you don’t want to push the pry bar too deep as you can easily damage the electronic board.
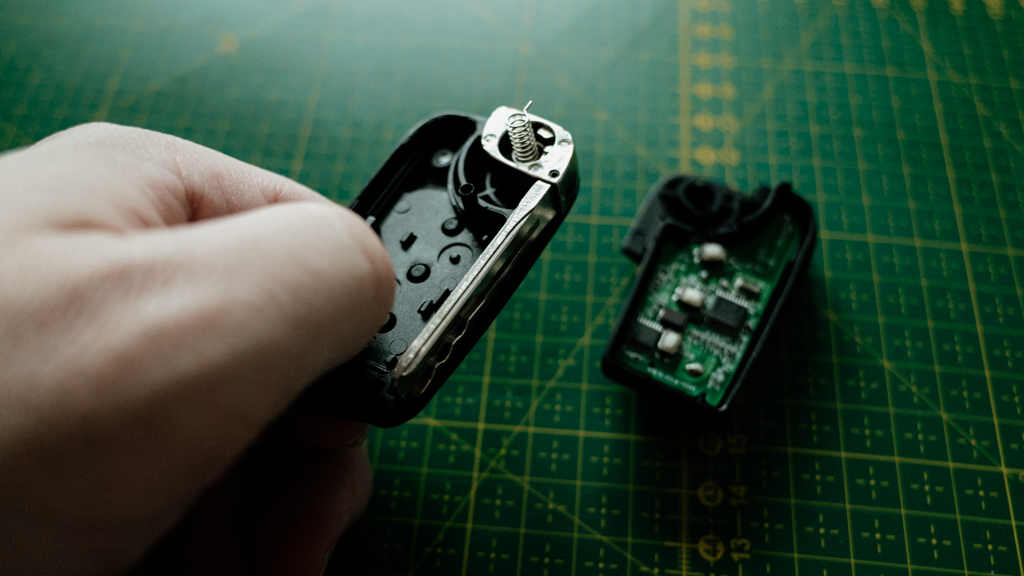
Now gently spread two parts of the case… Watch out for a little button with a spring in it. You don’t want to lose it as it will be needed later.
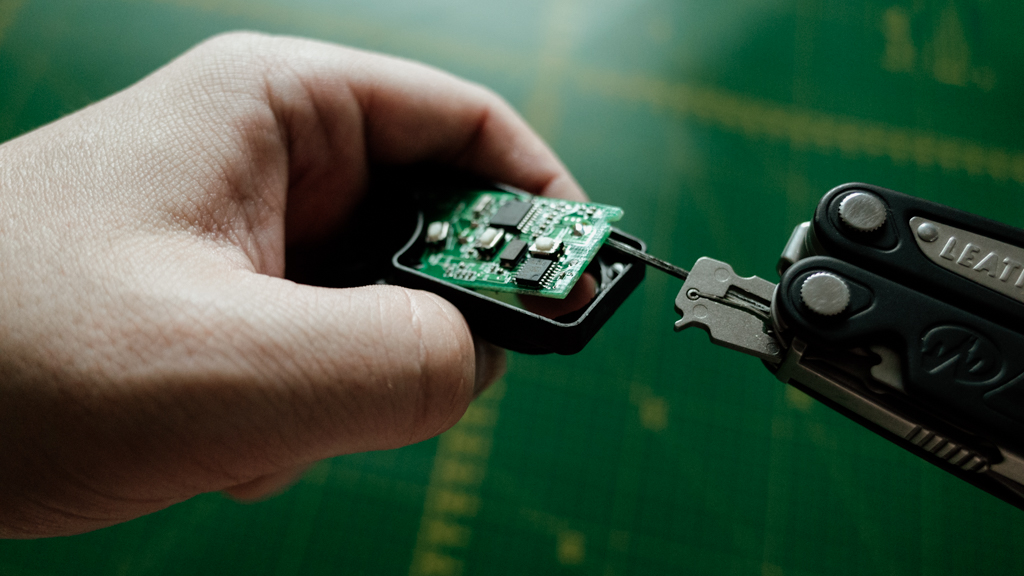
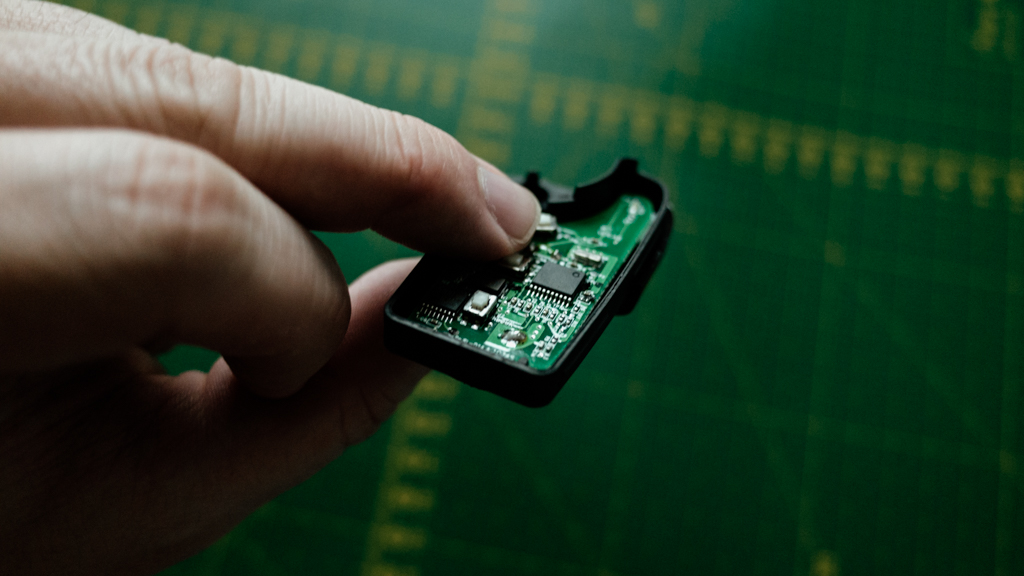
With a flat eyeglass screwdriver gently pry the board - it should pop up easily.
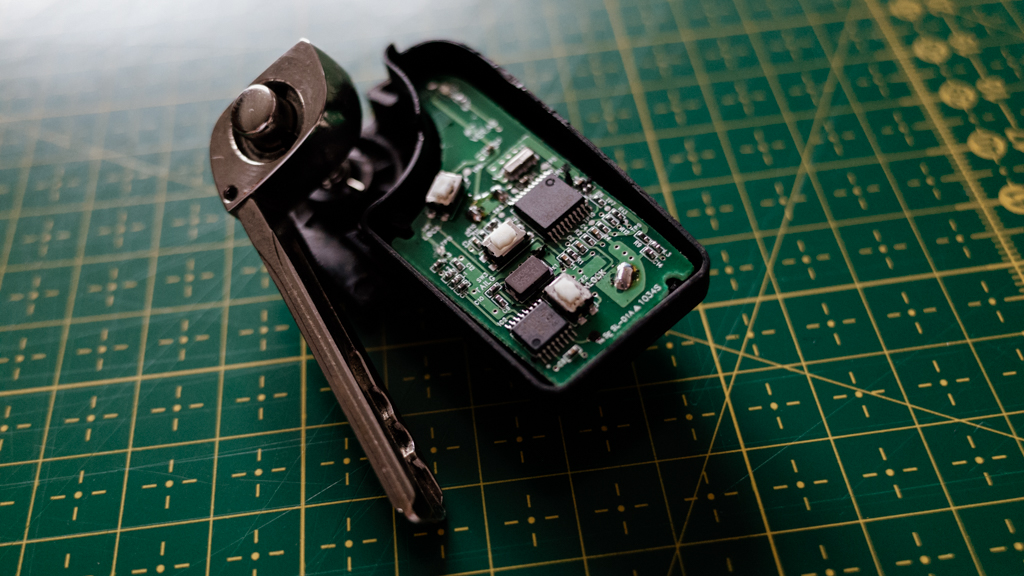
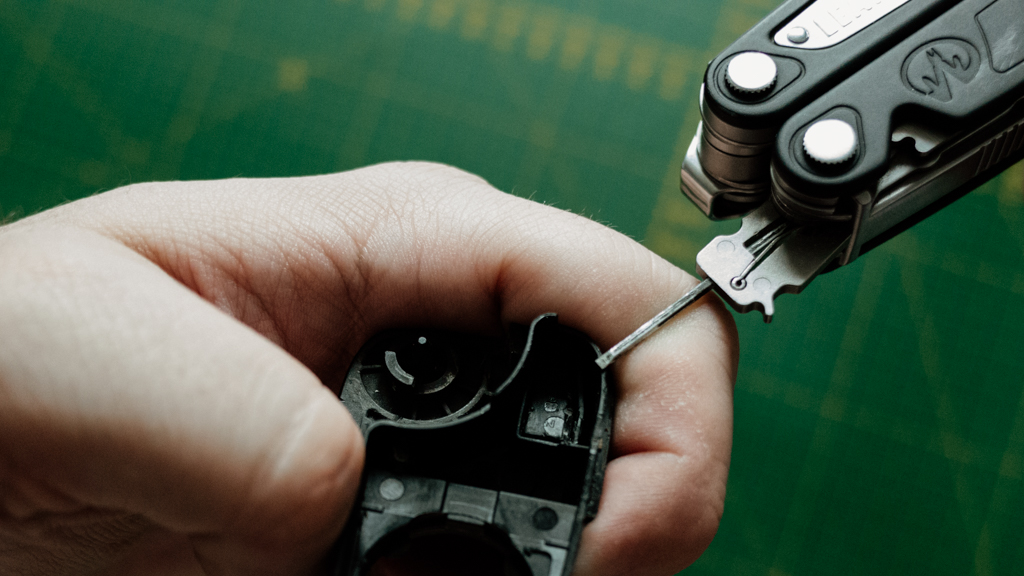
The electronic board in your key only controls the door opener. To create a new functioning key, you’ll also need a transponder - a small black cube located on the top right side of the case. Without the transponder, the car’s engine won’t start.
An immobilizer is an electronic security device that prevents a car’s engine from starting unless the correct key (transponder or smart key) is present. This prevents car theft by making it difficult to “hot wire” the vehicle. Studies have shown that the uniform application of immobilizers has reduced the rate of car theft by 40%.
Transponder keys, also known as “chip keys,” are automotive ignition keys that have a signal-emitting circuit built inside. When the key is turned in the ignition, the car’s computer sends a radio signal to the transponder circuit. The circuit responds by sending a coded signal back to the computer. If the code is incorrect or the circuit doesn’t respond, the engine won’t start, which helps prevent car theft. Transponder keys are difficult to duplicate and offer protection by making it nearly impossible for intruders to start the car.
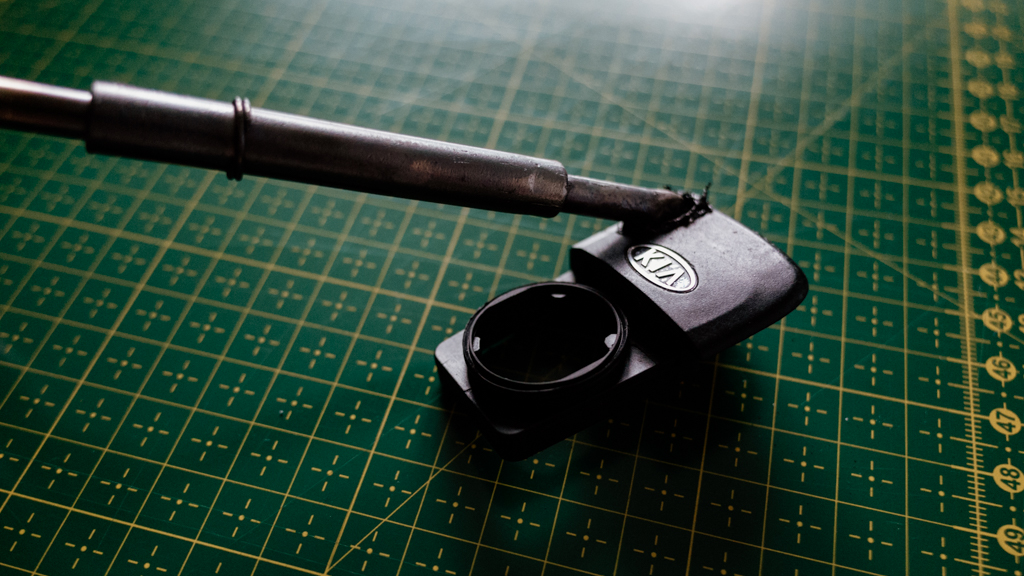
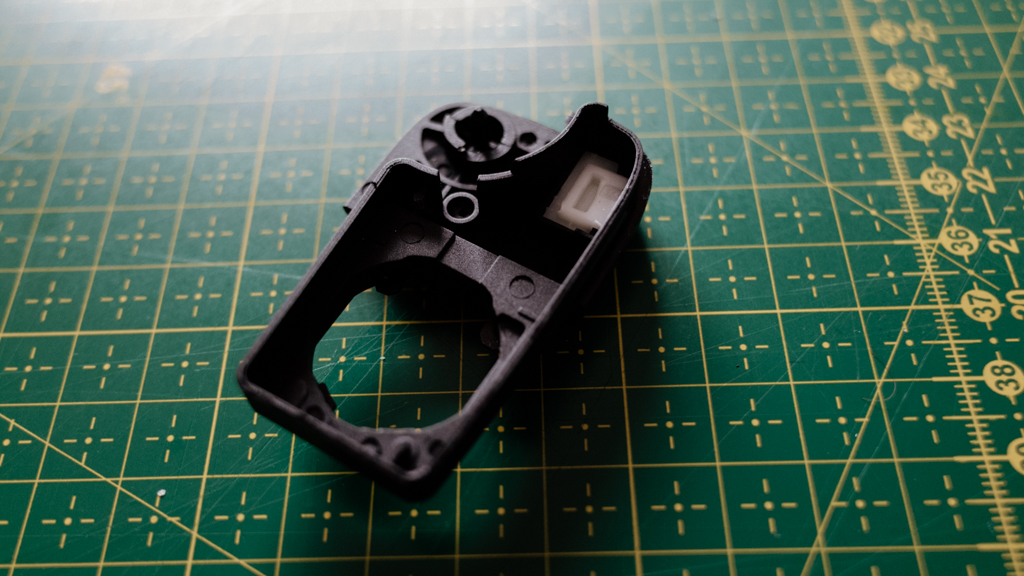
Unfortunately, the transponder is securely glued to the case, making it difficult to remove. The transponder chip is embedded in a hard plastic, so trying to force it out by crushing the old case is possible, but may not be safe or effective. However, there is a faster and safer method. By using a soldering iron, we can melt the case and carefully push out the transponder. If you don’t have a soldering iron, you can heat up a screwdriver on the gas stove and use it in the same manner.
Assembly of the new key
With the transponder and logic board, we can start to assemble the new key. This is really simple and basically, you need to do the same steps as previously in reverse order.
First, we will put the transponder inside its shelf. If your new key case is tight-made, you will only have to press the transponder cube and it will stay firmly.
In some cases, you will get an additional white cap to secure the transponder.
Press gently the logic printed circuit board to fit in grooves in the case.
Now let’s move on to the second half of the case. Put the button, key, and original spring back in place. Make sure to align the grooves in the hole and on the button correctly as there is only one way to do it right. The button should be pushed deep into the hole and should feel loose.
With a new key case, you should get a whole set with a button and spring, however, it’s good to use the original spring as they are often stronger and better at pivoting the key. Also, the original button will be better suited to the key too.
Bring together both parts of the case like in the photo and turn the “board part” counter-clockwise fully once or twice to load the spring. Then, lightly squeeze both case parts together and use the button to open the key. If you are not happy with the pivoting strength, you can turn the “board part” of the case once more.
Ensure that both parts of the case are parallel as possible all the way before tightening them up. Otherwise, you can break or jam the parts.
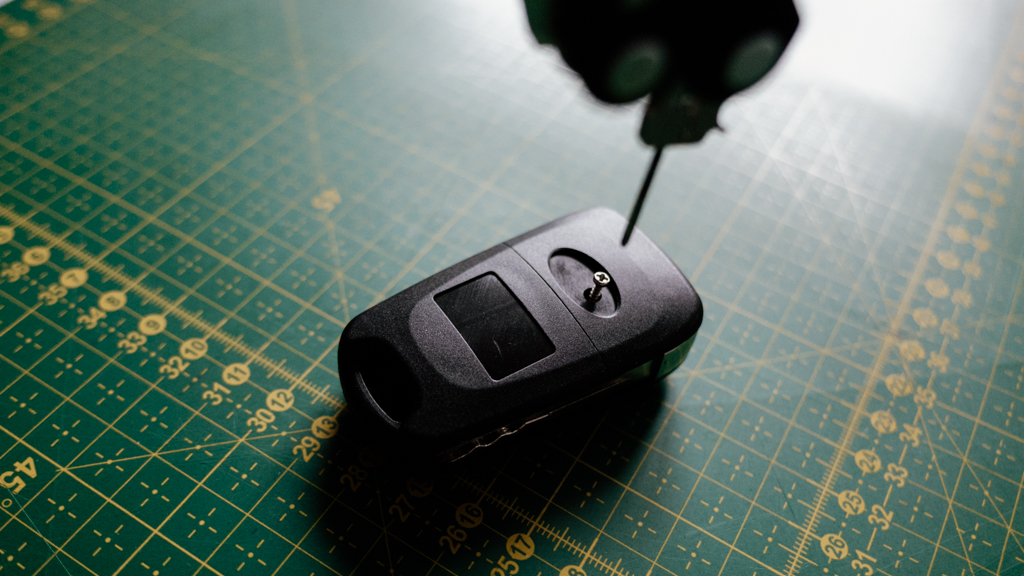
Some off-brand cases may have an extra Phillips screw that you can tighten using an eyeglass screwdriver.
Be happy with your new and fresh car key 😀
